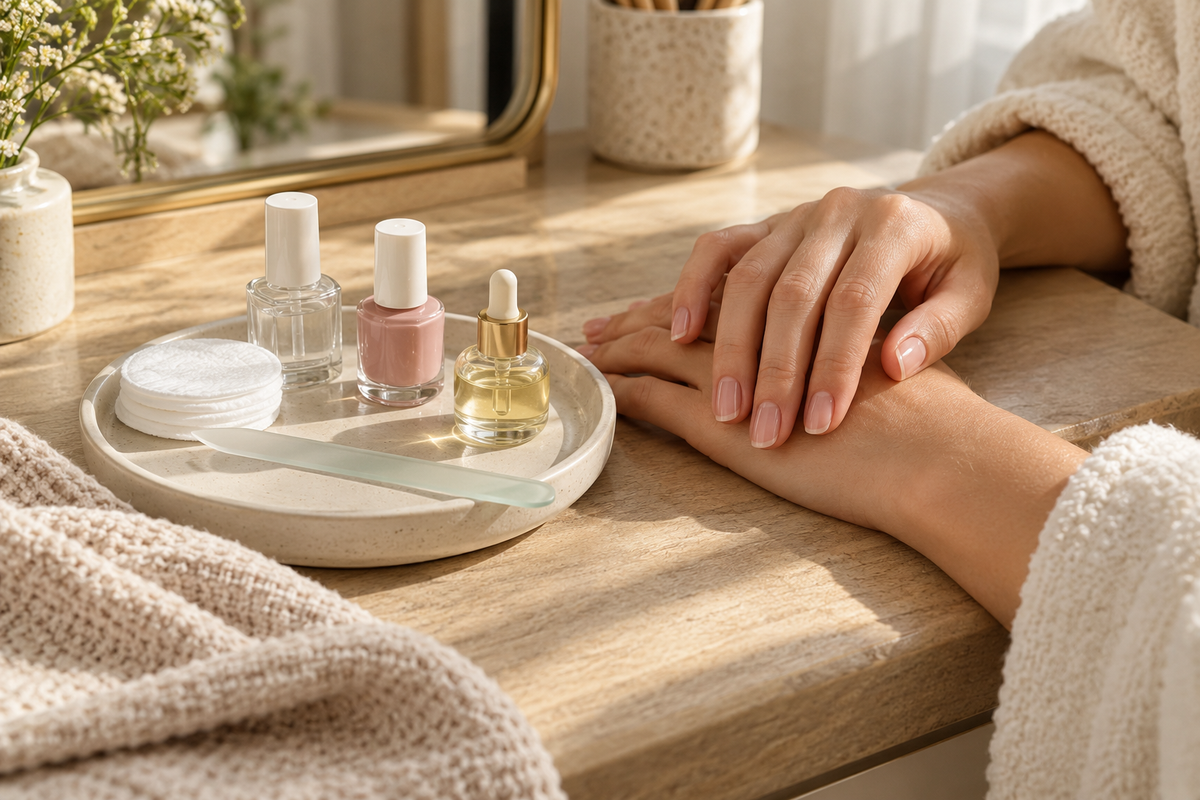
A lasting at-home manicure is less about adding more products and more about doing five jobs in the right order: remove old product, shape the nail, care for the surrounding skin, apply color in thin layers, and seal the result. The same framework also works when you want clean, maintained natural nails with no color.
The short answer
For a simple manicure, remove old regular polish, file dry nails in a controlled direction, gently tidy the cuticle area, clean oil from the nail plate, then use base coat, two thin color coats and top coat. Let each layer settle and keep cuticle oil for the end. Skip color entirely when maintenance is the real goal.
The five-part at-home manicure formula
REMOVE → SHAPE → CARE → COLOR → SEAL
This routine is intended for healthy natural nails and conventional air-dry nail polish. Gel, acrylic, dip powder, damaged nails, pain, swelling or signs of infection need different removal or professional guidance; do not pry or peel enhancements off.
Choose the result before you begin
Decide whether you want bare maintained nails, a simple color manicure, or the longest practical wear from regular polish. That choice determines what you need. A bare manicure stops after care and hydration. A color manicure adds base, color and top coat. A longer-wear version adds more careful nail-plate preparation and maintenance, not a pile of unrelated products.
Step 1: remove and reset
Remove conventional polish with a nail-polish remover and cotton pad, working gently rather than scraping. Wash and dry your hands afterward. Before applying new polish, the nail plate should be clean and dry; residual oil or lotion can make polish adhere unevenly.
If you are wearing gel, dip or acrylic, do not use this regular-polish method as a universal removal plan. Follow the product system’s removal directions or use a qualified nail professional.
Step 2: shape without over-filing
File nails while they are dry so the edge is easier to control. Choose a short practical shape that follows the natural nail—soft square or rounded shapes are straightforward for everyday wear. Use light strokes and check both hands frequently rather than aggressively sawing the edge thinner.
A glass file is washable and gives precise control, but a suitable emery board you already own can perform the same role.
Step 3: care for cuticles and surrounding skin
Cuticle care does not need to mean cutting living skin. After washing or bathing, gently push back only what moves easily and remove obvious loose hangnails with clean, appropriate tools. Do not cut or force attached tissue.
Apply cuticle oil to the nail folds and surrounding skin for the bare-nail version or after polish has dried for the color versions. If oil touches the nail plate immediately before polish, cleanse the plate again so the base coat has a clean surface.
Step 4: apply color in thin layers
For regular polish, use one thin base coat, one or two thin color coats, and enough drying time between layers to avoid dragging. Thick coats may feel faster but usually take longer to set and are easier to dent. Leave a narrow margin around the skin rather than flooding the cuticle area.
Base coat is useful when you want a smoother application surface, better adhesion or some protection from staining. If you are staying bare, it is optional. Color is also optional: maintained natural nails are a complete variation of the system.
Step 5: seal and maintain
Finish colored nails with a thin top coat, including a light pass across the free edge when the product directions allow it. Allow the manicure to dry before showering, cleaning or putting pressure on the nail surface. Reapply top coat only according to the product’s instructions and when it meaningfully extends wear.
Use gloves for prolonged wet cleaning and avoid using nails as tools. When the manicure chips beyond a small repair, remove it cleanly instead of peeling the remaining layers.
The Simple At-Home Nail Care System
The System below keeps the five roles stable and shows verified product options only where a tool or formula is useful. Use what you already own when it performs the same job.
Which routine fits your goal?
Tap one choice below. We’ll open the matching version of the The Simple At-Home Nail Care System.
-
Bare + Maintained
Remove old polish if needed, shape gently and use cuticle oil after cleaning.
-
Simple Color
Reset and shape, apply base coat with a sheer soft-pink color direction, then finish with clear top coat.
-
Longer-Wear Regular Polish
Use the same five roles with base coat, a classic-red color direction, thin coats, deliberate drying time and refreshed top coat only when useful.
What happens next? Your choice opens the full System, where you can select products and save your choices.
The smallest useful manicure kit
- regular nail-polish remover and cotton pads, if polish is present;
- one reliable nail file;
- cuticle oil or a simple nail-fold moisturizer;
- base coat, regular color and top coat for color manicures;
- a clean surface, good light and enough uninterrupted drying time.
You do not need an electric drill, a large tool set, several strengtheners or multiple top coats for this routine. Add a product only when it has a distinct job.
Three ways to use the system
Bare + Maintained
Remove old polish, shape the nails, gently tidy the cuticle area and finish with oil. This is the lowest-maintenance route and needs no color.
Simple Color
Complete the preparation, then apply base coat, one or two thin coats of a familiar shade and top coat. Choose a forgiving color when speed matters; the technique stays the same.
Longer-Wear Regular Polish
Spend more time cleaning the nail plate, keeping every layer thin, sealing the edge and protecting the finished manicure during chores. This variation still uses conventional polish—it is not a gel substitute and does not promise a fixed number of chip-free days.
Common reasons an at-home manicure fails early
- Applying polish over oil, lotion or moisture.
- Using thick coats that remain soft underneath.
- Flooding the skin around the nail.
- Skipping drying time before normal activities.
- Peeling polish off instead of using the correct remover.
- Expecting damaged edges to behave like freshly shaped nails.
What to skip
Skip duplicate tools, novelty kits with no clear function, harsh scraping, cutting attached cuticle tissue and any product bought only to make the routine look complete. Also skip trying several unfamiliar formulas in one session—you will not know which change helped or caused a problem.
Make it part of a smaller beauty routine
If your beauty storage is crowded, audit products by role using the Makeup Capsule guide. For a quick daily face, see the 10-Minute Everyday Makeup Routine. When packing, keep the manicure kit at home unless the trip truly requires maintenance; the Travel Beauty guide explains how to reduce duplicates.
Frequently asked questions
What do I need for a basic manicure at home?
For natural nails, start with remover if polish is present, cotton pads, one nail file and cuticle oil. Add base coat, regular color and top coat only when you want a color manicure.
Should cuticle oil go on before or after nail polish?
For a color manicure, apply oil after the polish has dried. Oil on the nail plate before base coat can interfere with adhesion, so clean and dry the plate before polishing.
How many coats of nail polish should I use?
Usually one thin base coat, one or two thin color coats and one thin top coat. Follow the directions on the exact products and allow adequate drying time.
Does this routine work for removing gel nails?
No. This routine covers natural nails and conventional air-dry polish. Follow the specific removal directions for gel, acrylic or dip systems, or use a qualified professional.
Can I skip nail polish completely?
Yes. Remove old product, shape carefully, tidy the cuticle area gently and moisturize. Bare, maintained nails are a complete version of the system.